I’ve been getting a lot of questions lately about the specific tools I use for photographing & editing the pics you see on this here blog. It’s been on my to-do list for quite some time now to do a little “behind the blog series”, but as you can see, that hasn’t quite made its way to the top priority on that to-do list. I’ve spent some time writing out my goals for 2014, and one of them is to devote more time to teaching and sharing the things I’ve learned throughout this blogging journey.
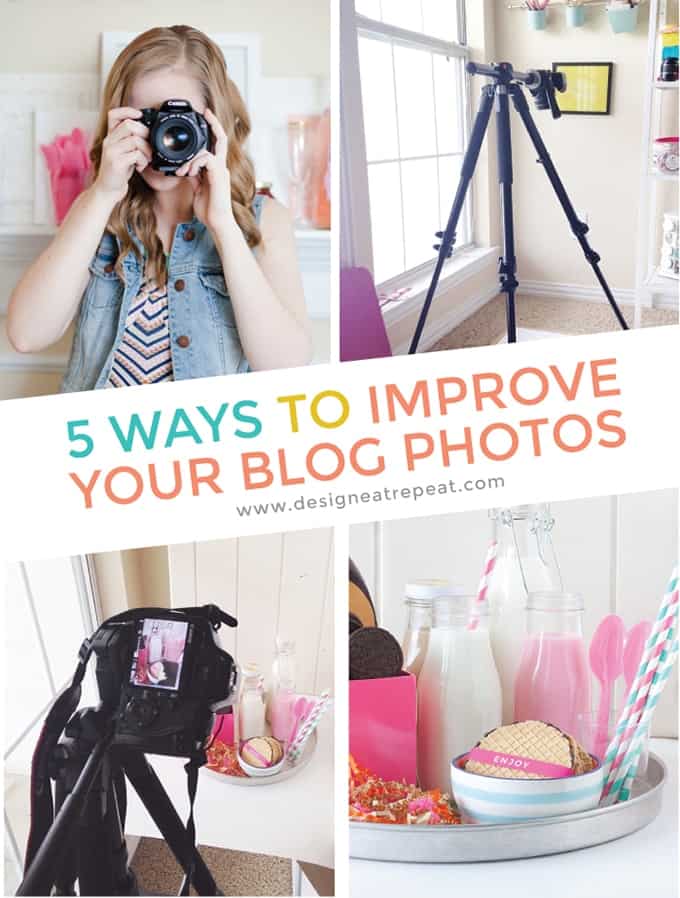
I don’t consider myself an expert on blogging or photography by any means, but I always love reading other people’s advice, so I decided it was time to bring an information element to the blog in addition to the projects & recipes. So today, I’m spilling the beans sprinkles and diving into my favorite blog photography tips & tools that help me produce the images you see on this blog! Warning: this may be the longest post I’ve ever written.
 Camera & Lens:
Let’s start off with the camera. This is a boring one because it’s a no-brainer that a camera is needed to take the pictures you see on the blog. I shoot with a Canon Rebel XSi that I got back in high school, so it’s about 7-8 years old already. Other than the crack in the screen (caused by user mishandling while studying abroad) the camera is in perfect condition. Because I bought my camera long before I even knew what blogging was, I didn’t do tons of research on “the best blogging camera” by any means.
But I will say that when I bought my first DSLR, I had expected it to magically take perfect shots right away. I soon found out that this wasn’t the case, and although Automatic mode works for some things, my blog photos didn’t start improving until I started to learn more about the Manual setting, f-stop, aperature, and all those fun things that I would have probably learned if I had read my user manual. But because user manuals are boring and basically written in another language, I turned to the internet (of course) to help me understand how this dang camera worked.
To give you a little perspective, this photo circa 2012 was taken with the exact same camera as I use now. The only difference between then and now? Learning manual mode, taking advantage of natural light, and using a tripod. I have a hard time even linking to that photo because the lighting is so off, but it’s also kind of fun to see how things have progressed in the past few years. That was one of the first pictures I took with my new Canon EF 50mm f/1.4 lens and it’s still the main lens I shoot with today. (Update: In addition to the 50mm lens, I now shoot with a 24-70mm 2.8L lens. I got mine from a local photographer via Craiglist, but this is the same one I have.)
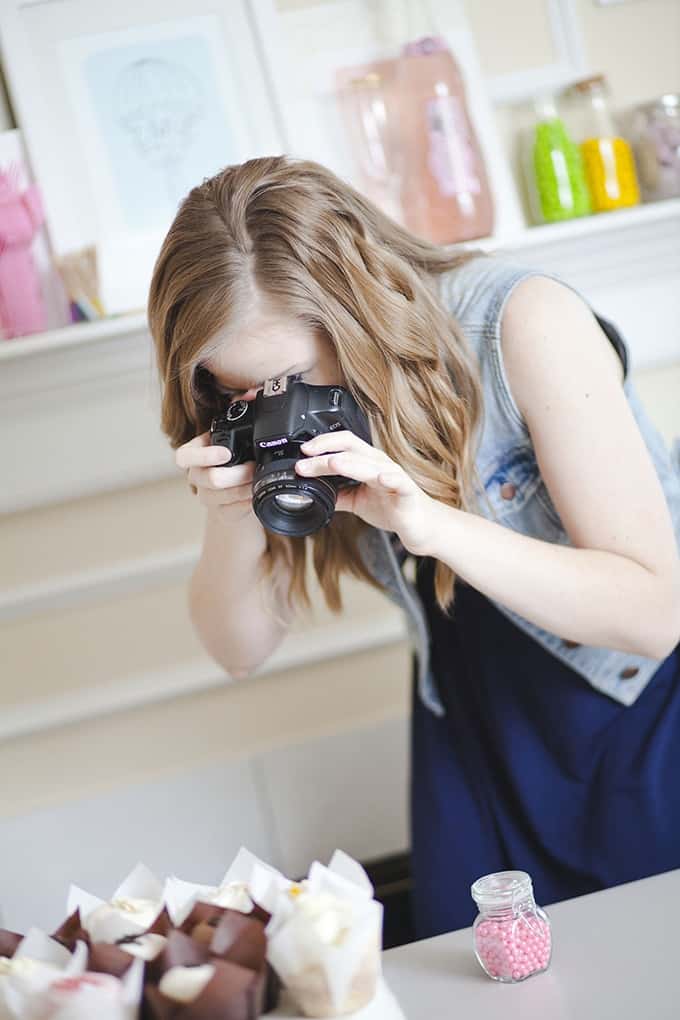
^ Photo Credit: Annie McGuire Photography
Online Tutorials & E-Books
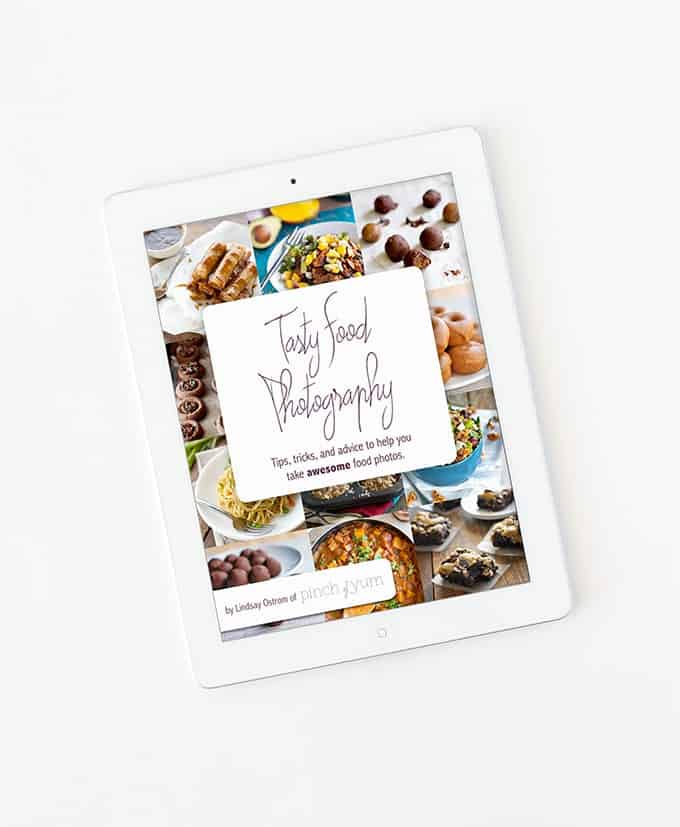
While Google will forever be my best friend when trying to find an answer, I’ve also had some luck with a few other resources on the interwebs. One of my favorite resources is a food photography e-book called, Tasty Food Photography. I like to call this a glorified user manual that, unlike boring manuals, actually includes pretty visuals and real-person lingo. It’s written by food blogger, Lindsay Ostrom of Pinch of Yum and it was one of the smarter online purchases I’ve made for this here blog (we won’t talk about the other purchases *cough* sprinkles, confetti, and pink paper cups.)
She talks about everything from how to create a great composition to how to understand that pesky Manual setting on your camera. She even goes into photo editing tips in Adobe Photoshop & Lightroom. Everything is explained in layman’s terms, so you don’t have to worry about not understanding fancy jargon. I highly recommend this e-book if you’re looking to learn the ropes of your DSLR, or even just pick up some tips on composition and editing. I also recently bit the bullet and purchased their Food Blogger Pro e-courses, so I’m excited to see how that goes. I’ll probably write another post after completing some of the lessons to report back how I like it!
The other resource I find helpful is Lynda.com. For those unfamiliar with Lynda, it’s basically a giant library of video tutorials and classes. I first learned about it in college, mainly as a resource to learn the Adobe programs. There is a monthly fee to be a member, but it’s worth it if you’re committed to sitting down and learning. It has tons of tutorials from web design, photography, and development and your membership allows you access to all the hundreds of courses they offer.
Like anything, it’s only useful if you actually use it (I’ve signed up for plenty of things that I never take the time to actually use!). If you’re a student, some universities include free memberships by logging in with your university credentials. So it would be worth hunting your university website to see if this is something you can take advantage of while you’re a student!
Backdrops & Propping
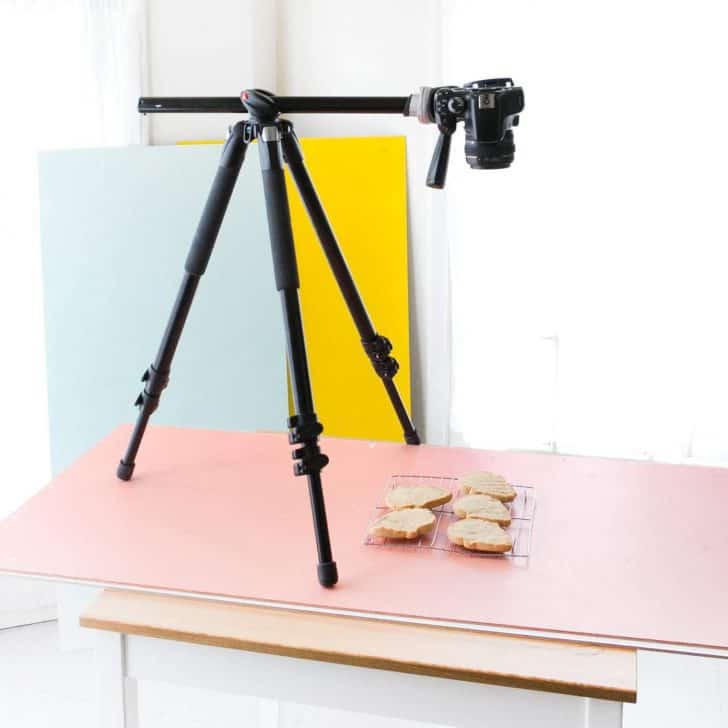
Because I try to maintain a bright & airy look with most of my photos, 90% of the time I’m using a white background. For a long time I was just using $1 poster boards & scrap paper to shoot on, and although they worked just fine, I was getting tired of having to buy new posterboard every time I spilled something on it (which was pretty much every day). Also, because posterboard is only so big, I was having a hard time fitting everything into the shot.
I was having to do a lot of editing to hide where the posterboard stopped and I was getting tired of spending time on fixing something that could be prevented. So about a month ago I gave in and bought a large roll of white seamless background paper off of Amazon, and it truly has been a game changer. I’m able to take larger shots and if it gets dirty, I can just tear it off and start fresh. I have it hung on a curtain rod that I got at Target (for $3!) above my table so that I can quickly pull it down to shoot on. I still use regular posterboard/matte board for reflecting light and usually place the board on the right side of this setup, so that the light comes in through the window and reflects back onto the subject matter.
If you’re looking for other types of surfaces, I’ve had a lot of luck at my local Habitat for Humanity Re-Store. You can usually get old pieces of wood, tile, and slate for dirt cheap. The white wood background that you see in the milk photo below is actually just a old cabinet door that I got for $2.
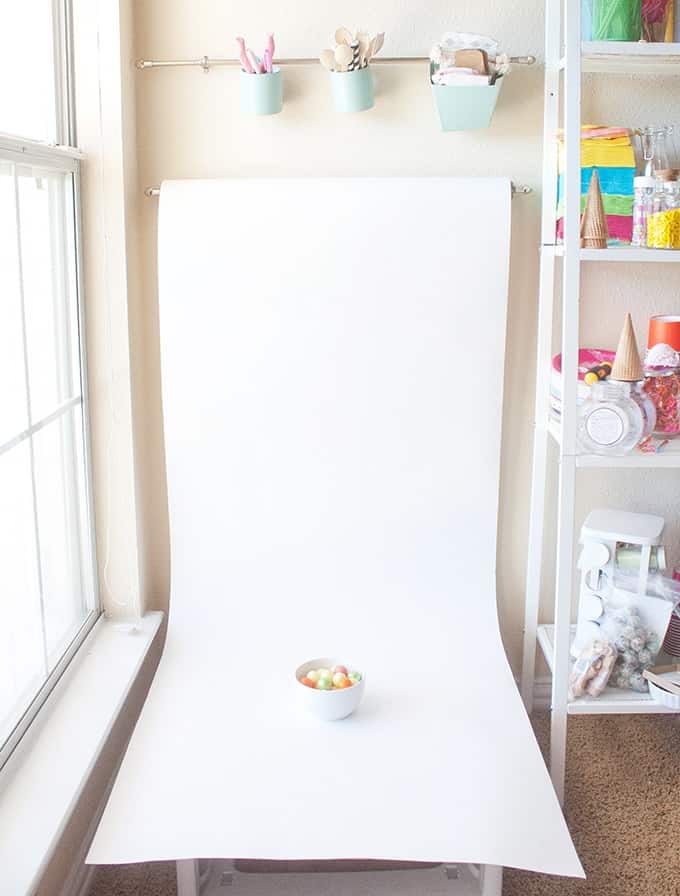
(I usually have the table higher up so I don’t have so much paper rolled out at once!)
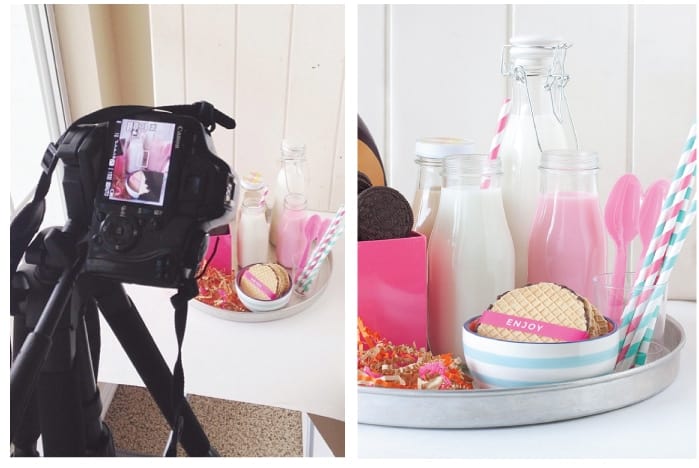
Tripod
Another thing that has greatly decreased my editing time is investing in a decent Tripod. It’s unarguable that my photos started to improve when I bought my first tripod from Best buy about two years ago. But as my needs changed, I realized I needed something that could handle more overhead shots. (This isn’t the exact model of my first one, but is pretty similar.)
I recently purchased the Manfrotto 055XPROB Pro Tripod (Update: model no longer sold, linked similar) with the Junior Head and although it has taken a little getting used to, it has been another game changer in the world of overhead shooting. The center bar has the option to extend up and out so that you can get a steady overhead shot without having to stand on top of a kitchen chair.
Not only has it decreased my chances of breaking my leg by falling of a chair (trust me, there have been some close calls!), but it has also allowed me to focus more on the styling of the image because I’m not having to constantly be at my camera. With my wireless remote control and tethering USB cable, I can see the image big and bad on the computer, and also see the details that I wouldn’t have been able to see on my small viewfinder.
 Editing Software
 Editing Software
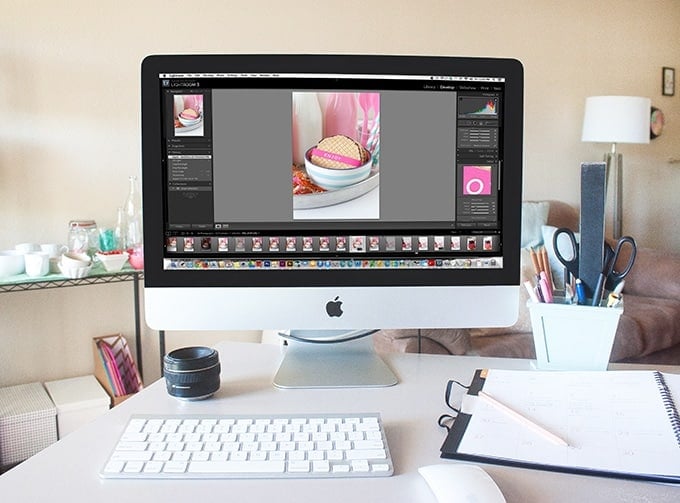
I first bought Adobe Photoshop Lightroom back in high school at about the same time I got my camera. I had been using it at a portrait photography studio I was working at and loved its ease of use. If you’re not well-skilled in editing levels & curves in Photoshop, you’ll probably find Lightroom to be an easier interface to learn. While it has a lot of the same editing features as Photoshop, Lightroom allows you to store all those images in one place so you’re not having to open tons of Photoshop windows when editing a large batch of photos.
When I first upload my photoshoot to Lightroom, I usually have 50-100 images that I need to weed down. Lightroom allows me to quickly flip through and “Flag” images that I want to edit, without having to open each photo individually. The other great feature about Lightroom is that after you are done editing, you can quickly “Export” your batch of photos to save at web-resolution, resize to your blog’s post area width, and add a watermark to each photo. These little things may not seem like a lot of work, but when you’re editing a bunch of photos each day, things like this save a ton of time. I still use Photoshop for text overlays & spot removals, but only after editing the photo first in Lightroom.
Whew, and that rounds it off for today! If you made it to the end of this post, you deserve yourself a big ol’ treat. While I could dive deeper into each of these tools, I hope this answers some of the surface-level questions that you may have had about my photo setup. While I find all these tools essential in how I personally operate, I don’t necessarily think that means you need to go out and spend a ton of money if you’re just starting to dabble into blogging/photography. Find what works for you and your budget and go from there. A lot of these tools are things I have slowly gotten over the years, and as I continue to learn, I’m sure more things will be added to this list.
If you’re a blogger or photographer, I’d love for you to share your favorite blog photography tips! I find that everyone has their own favorites and it’s always fun and informative to hear how others operate. If you have a question regarding an item above or just have a general “how-to” question, leave it below and I’m happy to take a stab at it!
*In the spirit of full disclosure, this post contains affiliate links, which means that I may get a commissions if you decide to purchase one of these tools. I only recommend products & systems that I use and love myself.


Stef says
Hi Melissa, this is a super useful post … I really love your pictures and creativity … Thanks for sharing!
Sarah says
Thank you sooo much for these tips! This is one of the best ‘blog photography’ post I’ve read. This is my first time stumbling upon your blog and I fell in love. Definitely pinning this so I don’t loose it!
Katie says
Thanks! I found this post on Pinterest and love the pictures on your blog! I don’t do food photography, but I have been trying to take my own for my blog. This is the look I have been trying to duplicate on my blog – it’s clean, fresh, airy and bright. I have a lot of similar gear that you have. Thanks for showing me that it is possible to achieve. I’ll keep practicing!
Melissa says
Glad you found this helpful, Katie!
Terri says
Thanks so much for your hints and tips! Any hints for people who cannot afford a DSLR camera and only have a P&S? I have a 14MP Olympus FE-4020 and it’s a great little camera but I’d love to make the most of it. I sadly used to have a DSLR but had to sell it due to financial difficulties (we needed the money more than the camera at the time). Any tips would be great!
Melissa says
Hi Terri! I don’t have much experience with P&S cameras, but here’s an article I had bookmarked a while back that might be helpful!
Terri says
Thanks so much!
Bec says
Such great tips! I was using a roll of butchers paper for my photo backgrounds but kept spilling stuff on it – I know your pain! Thank you for sharing <3
http://www.dancingthroughsunday.typepad.com
Keisha - Cupcake Wishes & Birthday Dreams says
This was hands down one of the most helpful posts I’ve read on blog photography yet! I never thought to use a white roll of paper!!! Genius!
Melissa says
Thanks for the feedback Keisha! Glad you found it helpful!
Jelli says
What great news! I use an Xsi and a 50mm 1.8 for almost all my shooting. It made me so happy to know that when I learn more about how to use my camera I’ll be able to take shots (almost) as good as yours! Thanks for sharing.
Melissa says
HI Jelli! It’s totally possible – it’s crazy how much photos can improve by learning manual mode a bit! I shriek when I see photos from a year ago and can’t believe it was taken with the same camera/lens. The turning point for me was when I got a tripod, because I could finally get a sharp focus with manual mode!
Alysa says
This was super helpful! I’ve always loved the brightness + consistency in your photographs. I know you mentioned that you like to keep your photos light and airy — but do you have any tips if I wanted to go for bolder/deeper colored photographs? Also – have you ever used a white balance lens? I’ve heard those are helpful so I might look into that too.
Melissa says
Hi Alysa! Woah, sorry for the delay in responding to this – must have got lost in the shuffle!
I don’t have much experience shooting darker images, but I do remember someone talking about this in a Facebook Group that I’m part of a while back. It mostly consisted of using dark surfaces and soft natural light. The group on Facebook is called, “FoodPhotographyTips” and they will accept most food blogger’s invite requests!
As for the white balance lens, I haven’t ever used one but now you have me curious! ;)
Alexis @ Persia Lou says
So many great tips! Thank you!
Ashley says
Great tips! Thank you! I too have some poster boards and other boards I use for backdrops… I tried a roll of paper but mine was too flat/creamy, so I think I need to try to find another type of paper to try!