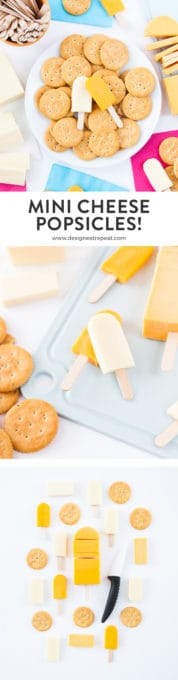
We take a brief commercial break from red & pink Valentine’s Day projects to bring you something that truly speaks my love language. Cheese. Shaped like popsicles. Because while my thermostat says it’s winter, I just couldn’t hold off on keeping these locked up until summer. Plus, word on the street is that the Super Bowl is coming up, so I figured I’d throw in a fun way to ditch the generic football shaped cheese slices and bring in some good ol’ summer lovin’ to your cheese tray.
But Melissa, what’s the point of sticking wooden popsicle sticks into cheese slices only to have them taken out minutes later? (That’s what my practical little sister would say.) I’ll tell you what the point is. It’s because they’re fun to look at and practicality is boring, mkay? No more reasons are needed.
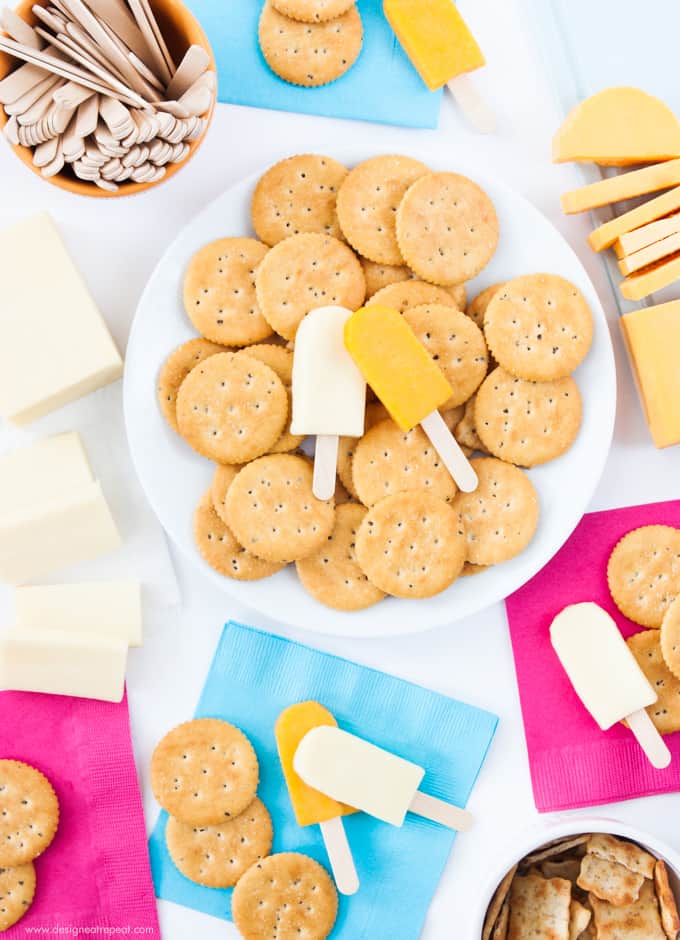
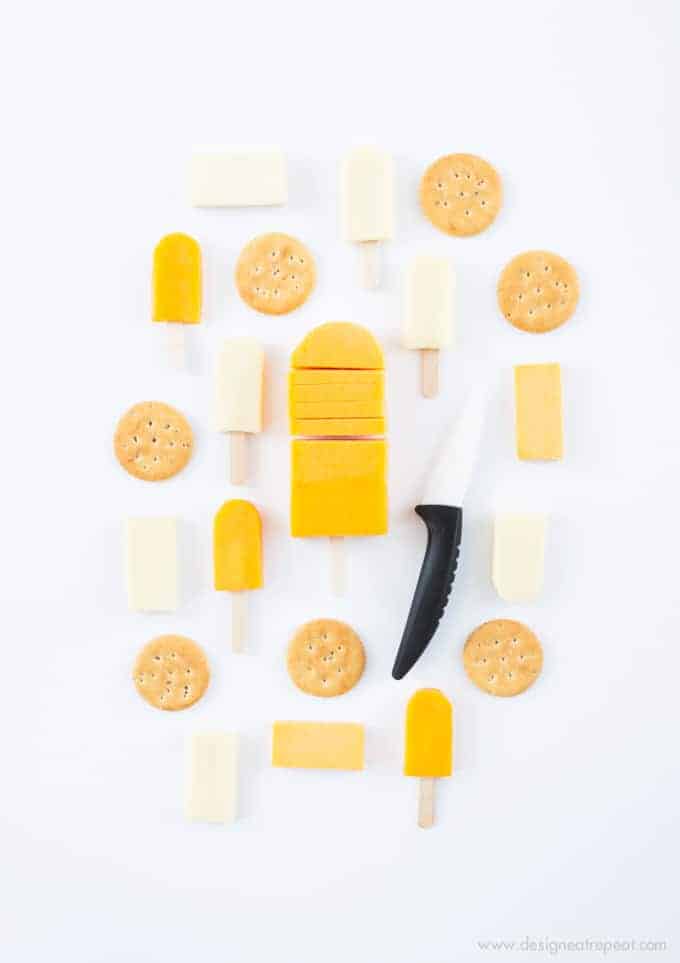
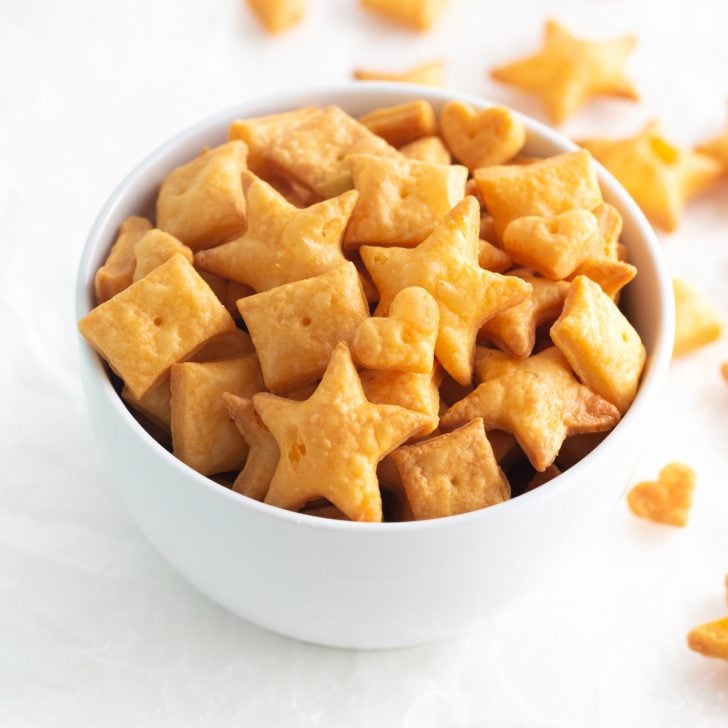
Ice cream parties, Superbowl parties, wine parties, heck…straight up cheese parties are just a few of the festivities that these tiny poppers could make an appearance at. All you need is your favorite block of cheese, some basic carving skills, and mini popsicle sticks and you can bring a little spunk to your festive gatherings. The crackers won’t even know what hit them.
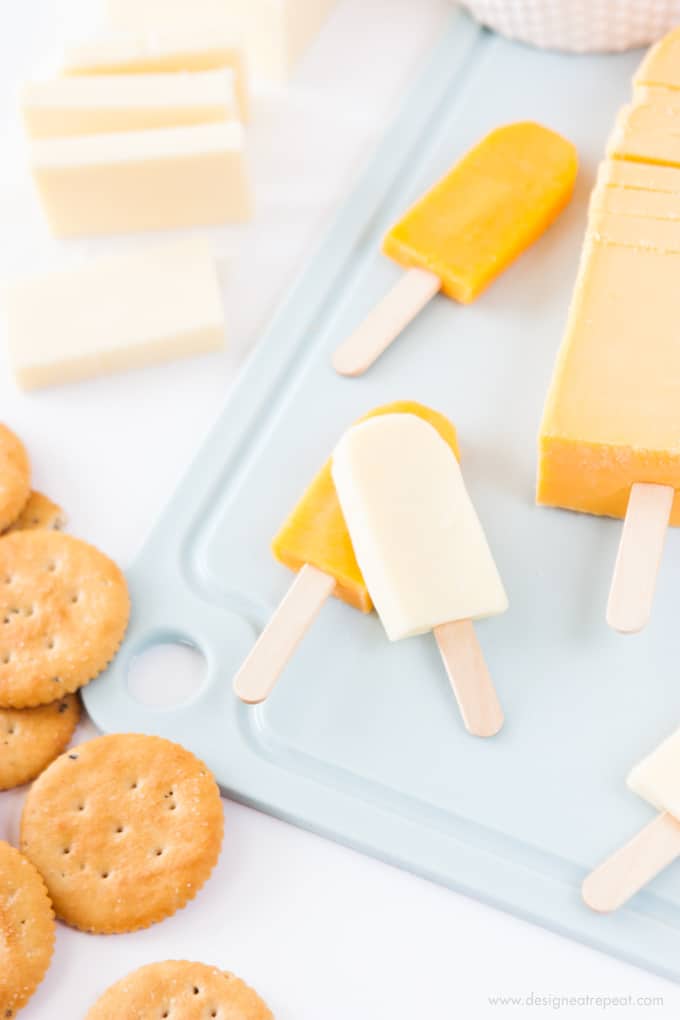
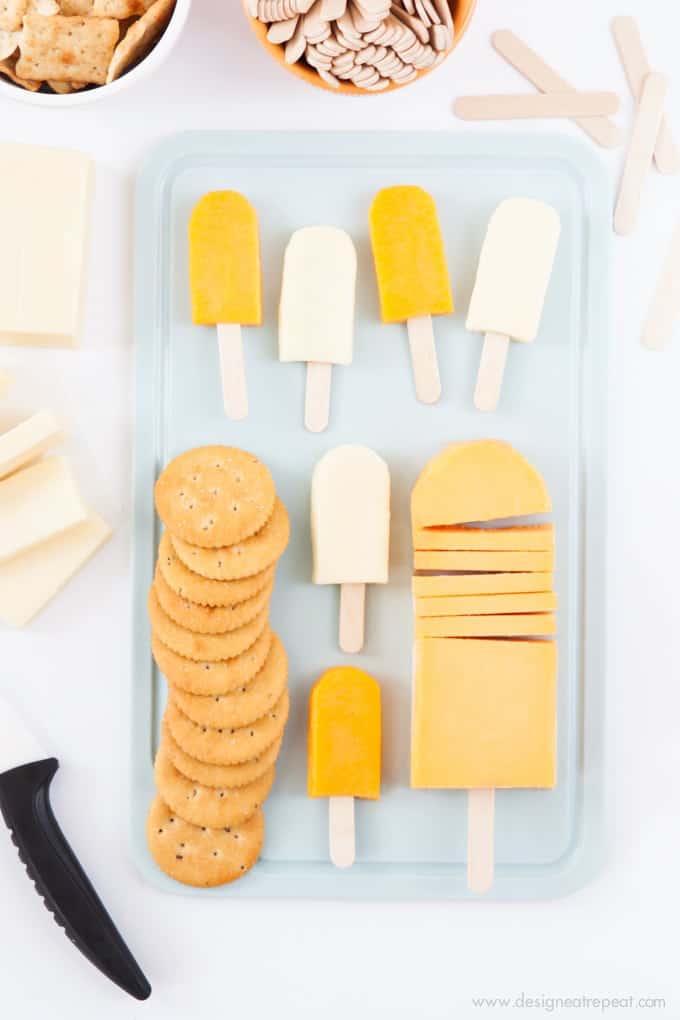
To create the larger block popsicle, I simply used a knife to round off the top to create the iconic popsicle shape. For the tiny popsicles, I then sliced the large block into about 1/4″ slices, rounded off the tops, and then carefully inserted a 2.5″ popsicle stick into the bottom. (I do not recommend cutting a normal sized popsicle stick in half for these, as the cut/frayed edge will be going into the cheese and could break off.)

If you plan to make the tiny cheese popsicles, I recommend using a moist cheese to allow for the popsicle sticks to insert more smoothly. I’ve found that cheeses like Swiss, Monteray Cheddar, and Colby Jack work great. If your favorite cheeses are on the drier end, you would want to cut the slices thicker to allow for the popsicle stick to insert with minimal cracking. The cheeses shown here are Cabot, which I can usually find a good variety of flavors at my grocery store. But again, types of cheeses are such a personal preference so go with a kind that you know you like!
Easy, peesy, cheddar cheesy, huh? Like I mentioned in last week’s post, I’m really trying to step back this year and create projects & recipes that are more friendly and approachable to all skill levels. Less frill, less steps, less mess = more fun. Something you can look at and instantly feel like you can make – even if you are the furthest thing from Martha Stewart. It may not seem like a big change if you’re new here (or maybe even if you’ve been around for a while), but I can definitely say that I’ve been finding this “edited down” approach to projects to be more enjoyable so far. Editing out the steps, ingredients, and materials you don’t need – to still create something unique, memorable, and oh-my-gosh delicious. So enough with the over thinking, it’s time to make 2015 great grate and even better cheddar than last year. (Sorry, the cheesy puns are here to stay.)


Monique | WritingMonique says
I love cheese and this is the best and cutest way I have ever seen; to eat it! Love it so much :)
Rachael @ Cabot Cheese says
These are so fun! What a creative (and cute!) idea :)
Melissa says
Thanks, Rachael! Loved using Cabot for these…thee best!